Backcountry Food Planning Guide for Beginners
backcountry food planning, camping meal prep, backpacking food guide, lightweight camping meals, wilderness cooking, outdoor adventure food, beginner camping tips,explorave
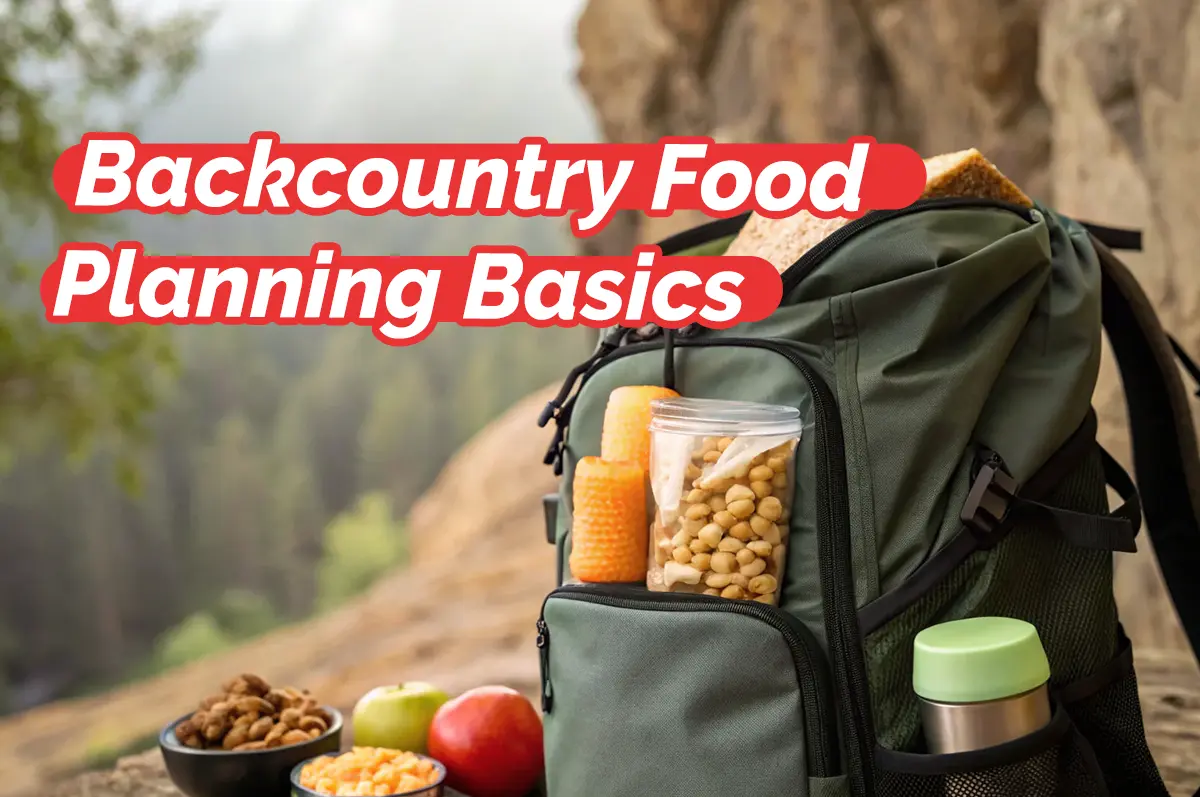
Backcountry Food Planning Guide for Beginners
(Lightweight, High-Calorie & Stress-Free Meal Strategy)
Your first backcountry camping trip doesn’t fail because of distance.
It fails because of food.
Too little? You bonk halfway up the trail.
Too heavy? Your pack becomes torture.
Too complicated? You dread every meal.
Food is fuel. And in the backcountry, fuel equals performance, warmth, and safety.
Whether you’re hiking in the Canadian Rockies or trekking through the Australian bush, this backcountry food planning guide will show you exactly how to plan smart, lightweight, high-energy meals for your first trip.
Why Food Planning Matters More Than You Think
When you hike 10–20 km per day carrying weight, you burn:
- 2,500–4,500 calories daily
- Even more in cold Canadian alpine conditions
- Even more in hot Australian environments (hydration stress)
Improper food planning leads to:
- Fatigue
- Poor decisions
- Increased injury risk
- Hypothermia (in cold climates)
- Heat exhaustion (in hot climates)
Food is safety.
Step 1: Understand Calorie Density
This is the foundation of smart backcountry food planning.
What Is Calorie Density?
Calories per gram.
The higher the calorie density:
- The lighter your food
- The more energy you carry
High-Calorie-Density Foods (Best Choice)
- Nuts
- Peanut butter
- Olive oil
- Chocolate
- Hard cheese
- Dehydrated meals
- Trail mix
Low-Calorie-Density Foods (Avoid)
- Fresh fruit (heavy water content)
- Canned food
- Yogurt
- Large bread loaves
- Heavy packaged snacks
Rule of thumb:
Aim for 100–150 calories per ounce (28g).
Step 2: Simple Meal Structure for Beginners
Keep it boring. Keep it easy.
🥣 Breakfast
- Instant oatmeal + nuts
- Powdered milk
- Instant coffee
OR
- Granola + powdered milk
Quick. No cleanup stress.
🥪 Lunch (No-Cook)
No one wants to unpack a stove midday.
- Tortillas (better than bread)
- Peanut butter
- Hard cheese
- Salami
- Tuna pouch
- Trail mix
Eat in motion. Keep it simple.
🍲 Dinner (Hot Meal)
This is your morale boost.
Options:
- Dehydrated backpacking meals
- Instant rice + tuna + olive oil
- Instant mashed potatoes + cheese
- Couscous + dehydrated veggies
Hot food improves morale — especially in Canada where nights get cold fast.
Step 3: Canada vs Australia Food Considerations
🇨🇦 Canada
Challenges:
- Cold temperatures
- Bear country
- Longer daylight in summer
Priorities:
- Higher fat content
- Warm dinners
- Proper food storage
Food storage often regulated by agencies like Parks Canada.
Always check wildlife storage rules.
🇦🇺 Australia
Challenges:
- Heat
- Water scarcity
- Food spoilage risk
Priorities:
- Heat-stable foods
- Extra electrolytes
- Minimal perishables
Always check weather forecasts via Australian Government Bureau of Meteorology before planning meals.
Step 4: How Much Food to Bring?
Beginner formula:
2,500–3,000 calories per day minimum.
For harder terrain:
3,500+ calories.
Example 2-Day Trip
Day 1:
- Breakfast (eat before trail)
- Lunch
- Dinner
- Snacks
Day 2:
- Breakfast
- Lunch
- Emergency snacks
Always pack:
- One extra meal
- 1 extra day of snacks
Emergency calories are non-negotiable.
Step 5: Snacks Are Everything
Most beginners underestimate snacks.
Pack:
- Trail mix
- Protein bars
- Electrolyte drink mix
- Chocolate
- Energy chews
Eat every 60–90 minutes.
Small consistent fuel beats huge meals.
Step 6: Water Planning
Water and food are connected.
You need:
- 2–3L carrying capacity minimum
- More in Australian dry regions
Never assume natural water is safe.
Use:
- Gravity filter
- Pump filter
- Chemical purification
- Boiling
Waterborne illness ruins trips fast.
Step 7: Bear & Wildlife Safety (Critical in Canada)
Food attracts wildlife.
Store food:
- Bear canister
- Bear hang
- Designated lockers (if provided)
Never:
- Store food in your tent
- Cook next to sleeping area
Follow Leave No Trace guidelines from Leave No Trace Center for Outdoor Ethics.
Step 8: Pack Weight Strategy
Food usually weighs:
1.5–2 pounds (0.7–1kg) per day per person.
For 3 days:
3–6 pounds.
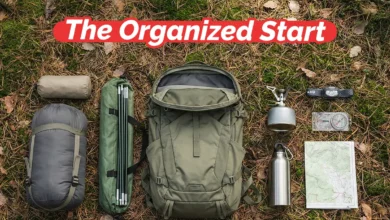
Plan accordingly when reviewing your gear checklist from:
Backcountry Camping Gear Checklist.
What Beginners Get Wrong
- Overpacking “just in case” food
- Bringing fresh heavy food
- Forgetting electrolytes
- Not testing dehydrated meals beforehand
- Underestimating hunger
Backcountry hunger hits differently.
Sample 2-Day Beginner Meal Plan
Day 1
Breakfast:
Oatmeal + nuts
Lunch:
Tortilla + peanut butter + cheese
Snack:
Trail mix + bar
Dinner:
Dehydrated meal
Day 2
Breakfast:
Granola
Snack:
Protein bar
Lunch:
Tuna wrap
Emergency:
Extra nuts + chocolate
Food Prep Before Leaving
- Repackage into zip bags
- Remove excess packaging
- Label meals by day
- Pre-measure coffee
- Pre-mix drink powders
Less waste = lighter pack.
Mental Strategy: Keep It Simple
Your first backcountry trip is not a cooking competition.
The goal:
Fuel your body.
Stay warm.
Stay energized.
Gourmet comes later.
FAQ – Backcountry Food Planning
1. How many calories do I need per day?
2,500–4,000 depending on terrain and body size.
2. Can I bring fresh meat?
Not recommended unless very short trip and cold climate.
3. Do I need freeze-dried meals?
No, but they’re convenient and lightweight.
4. How do I prevent food from spoiling in heat?
Avoid perishables. Use shelf-stable foods.
5. What’s the biggest beginner mistake?
Packing heavy, low-calorie food.
Final Thoughts
Backcountry food planning isn’t complicated.
It’s strategic.
Choose calorie-dense foods.
Keep meals simple.
Pack one extra day.
Respect wildlife storage.
And your energy will carry you further than you expect.
🚀 Continue Exploring with Explorave
If this backcountry food planning guide helped you, next read:
- Beginner’s Guide to Backcountry Camping
- Backcountry Camping Gear Checklist
- Water Purification in the Wild
Explorave is built for explorers who prepare before they step into the wild.
Plan smart. Pack light. Explore deeper.